Behind the scenes: how we build 3D characters and products in Blender
People often ask how a small studio makes polished 3D without a big team. Here is our actual process for the five characters and four product renders on this site. It is a mix of old craft, such as shape, material and light, and modern tools, including code and AI assistance. We think you should know exactly what is involved.
The tools
- Blender, the free and open-source 3D software, for modeling, lighting and rendering.
- Python scripts inside Blender to build models procedurally, so a character is described as a list of shapes and rules and can be rebuilt or changed in seconds.
- Claude, an AI assistant, to help us write and refine those scripts.
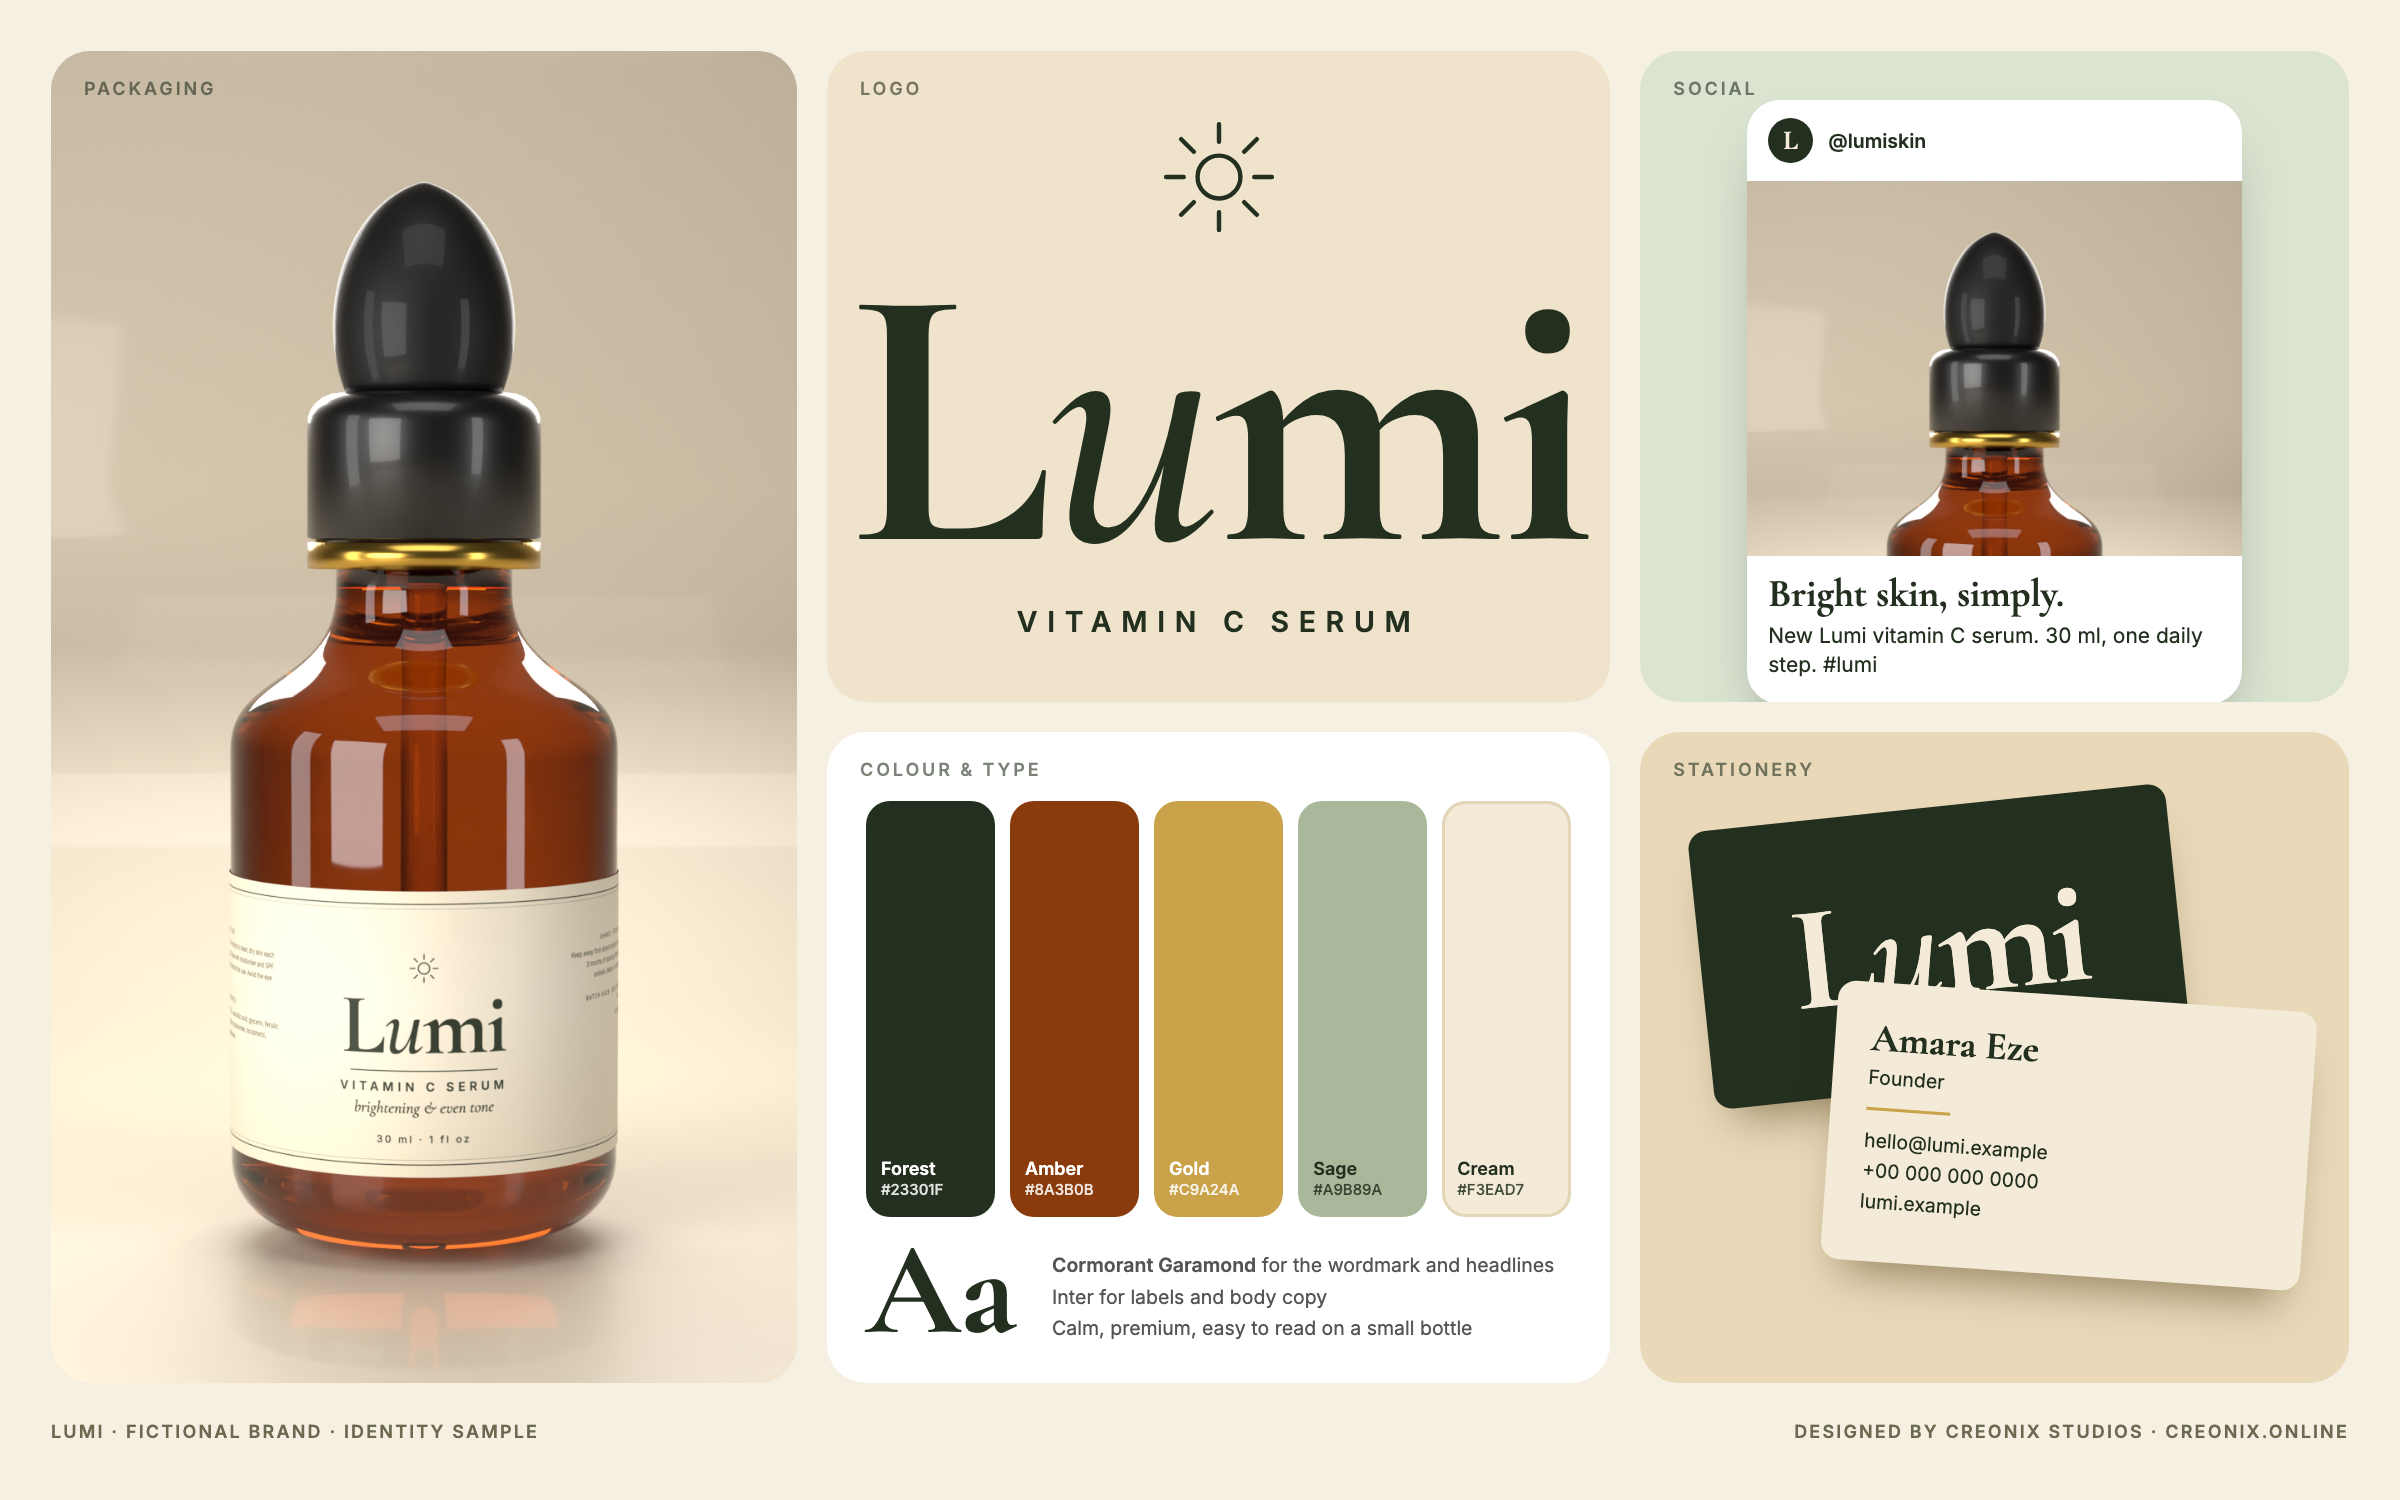
- A browser and a few lines of HTML to design label artwork, which we then wrap on the product.
- FFmpeg to turn rendered frames into the turntable videos you can drag on this site.
We say this plainly because it affects what you should expect: the designs are ours and original, the building is assisted by AI, and every result is checked by a person.
Characters: shape language first
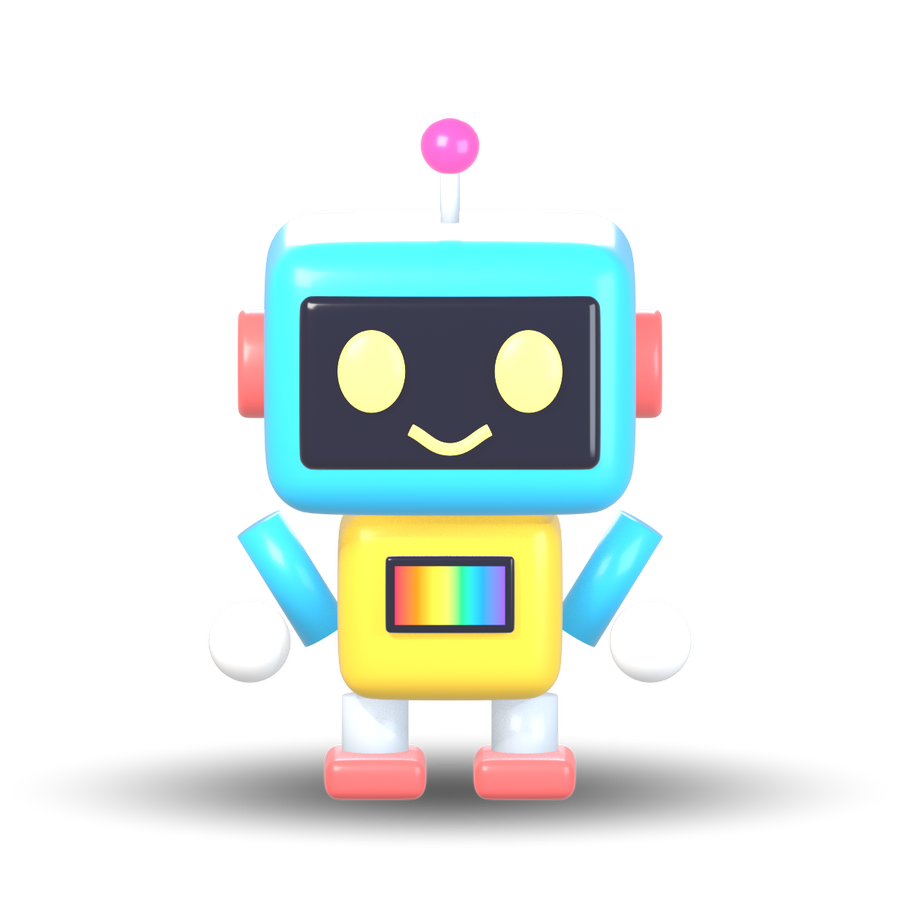
A friendly character starts with simple shapes. Rounded forms, big eyes, small hands and a wide stance read as approachable. We sketch the idea as primitives: Bloop is a flattened sphere with two feet, Zap is a rounded box head on a smaller body, Mochi is a head-heavy cat with a curved tail.
From there, each character is a short script. Eyes are layered spheres, white, iris, pupil and a small highlight, because that tiny highlight is what makes eyes look alive. Smiles are curves with thickness. Cheeks are flattened discs. Because the model is code, we can change a proportion, such as eye size or head width, and see the personality shift immediately.
Materials and lighting
Characters use glossy, slightly coated materials, like a toy or vinyl figure, and soft three-point lighting: a key light, a cool fill and a back light for a clean outline. A soft shadow under the feet grounds them. We render these with Blender's fast real-time renderer, then frame each character automatically from its bounding box so they all sit consistently in the tile.
Products: where realism lives
Product renders use a slower, physically accurate renderer. The recipe is the same for every item:
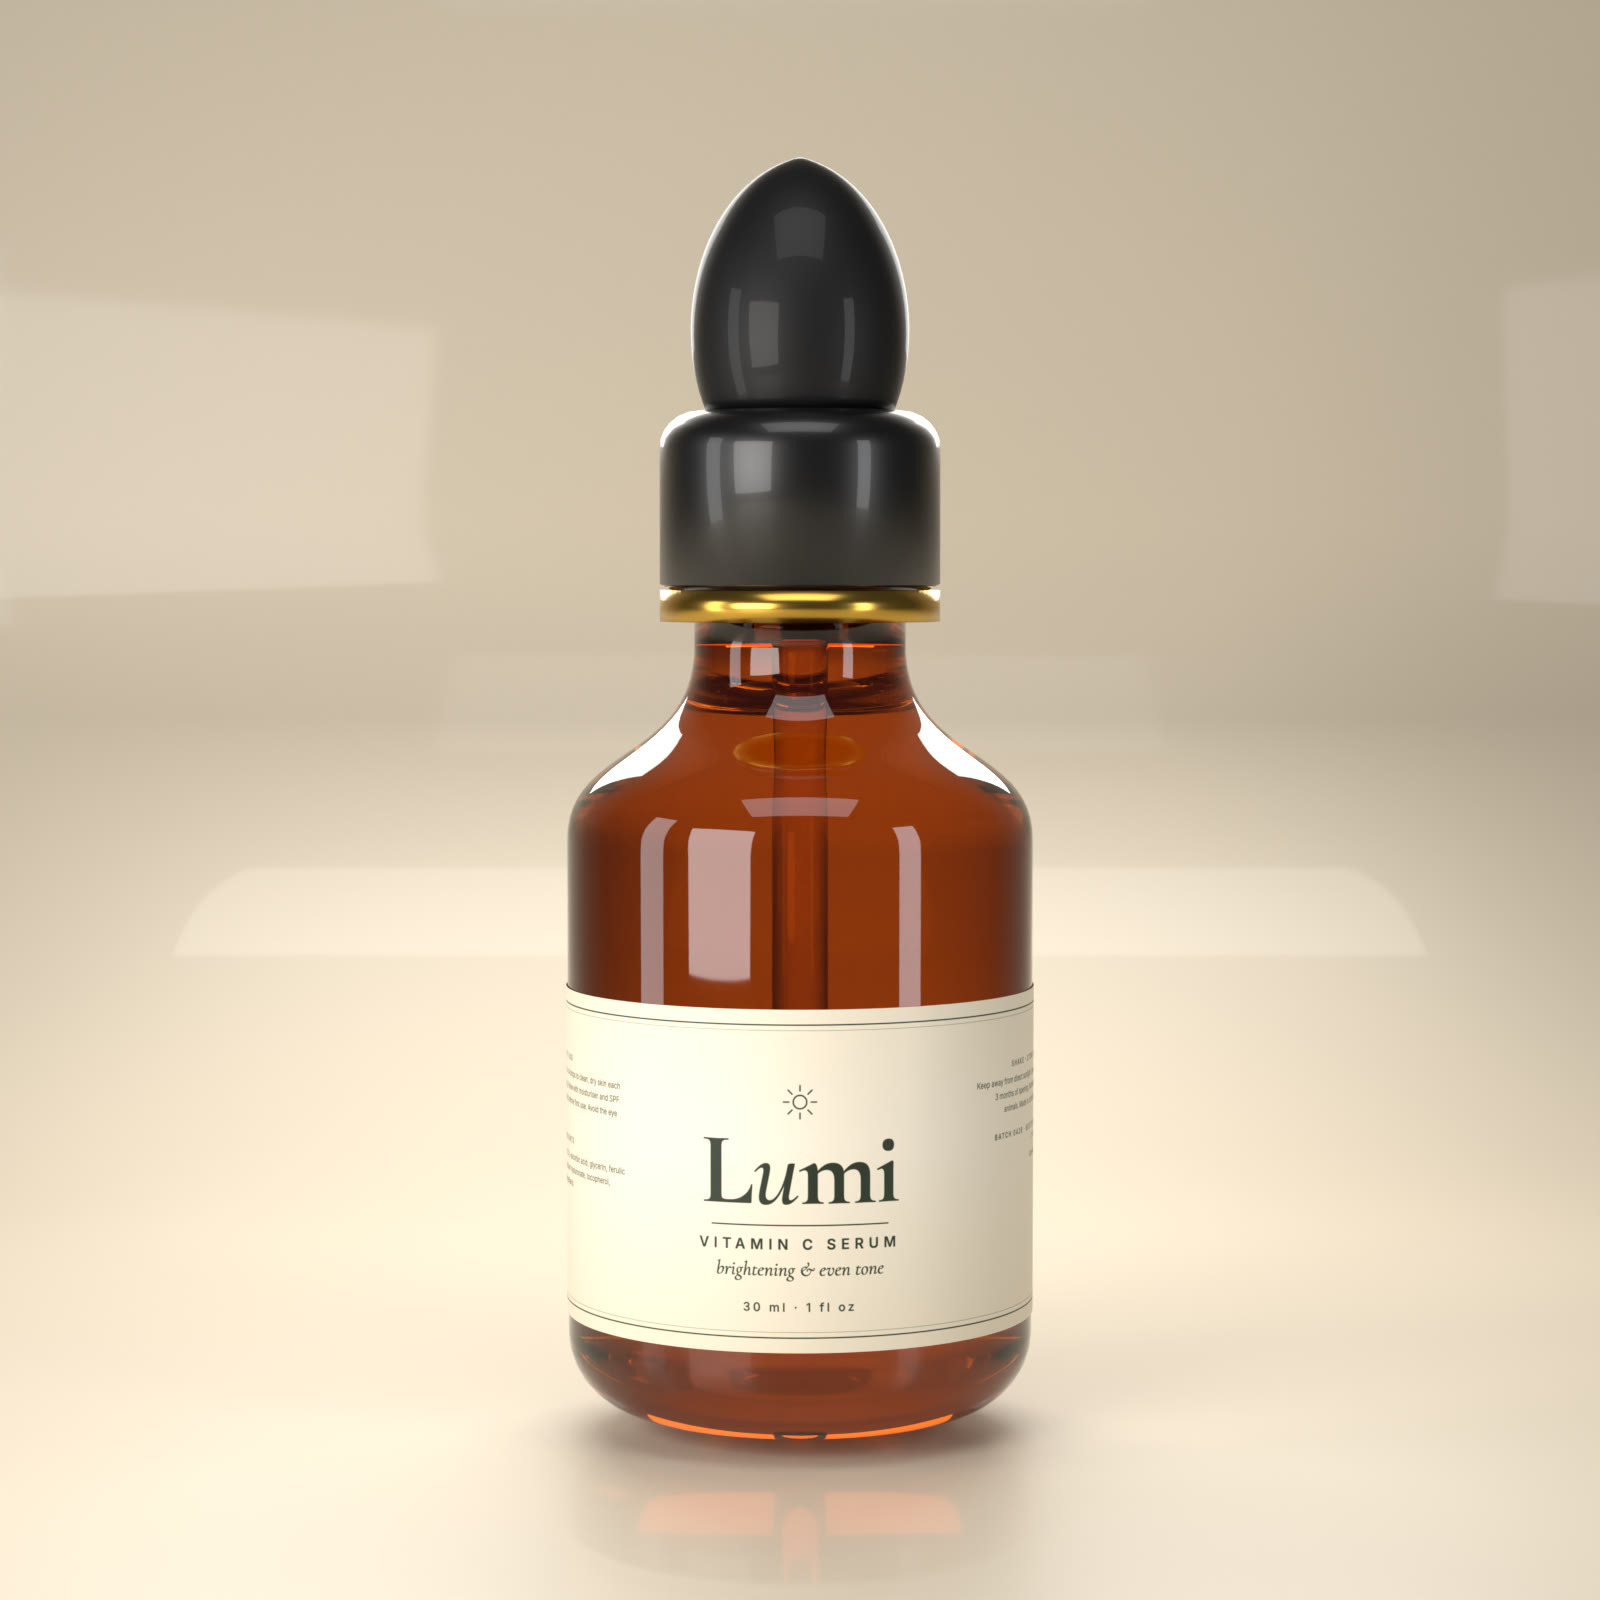
- Model the shape from a profile. A bottle or can is a revolved curve: we define the profile, the bevels, the shoulder, the neck and the lip, and spin it around the axis.
- Give each part the right material. Amber glass, frosted glass, clear plastic, brushed aluminium, rubber and gold foil all behave differently.
- Add the liquid. A bottle with a liquid level inside looks correct. An empty shell does not.
- Wrap the label. The label is a curved surface with a proper UV map, so artwork bends with the geometry. This is the difference between "text floating in front of a bottle" and a bottle that has a label.
- Add small proofs of reality. Condensation drops on a cold can, a gold ring at the collar of a dropper, a barcode on the back.
- Light it like a studio. Large softboxes at the sides create the long, clean highlights you see on glass, and a gradient backdrop with a soft reflective floor finishes the scene.
Turntables you can drag
Each item is rendered as a 360-degree rotation, then encoded so every frame can be reached instantly. That is what lets you drag a character or product to turn it around, without loading a heavy 3D viewer.
Where AI helps, and where it does not
AI assistance speeds up the scripting, for example turning "make a flat-topped soda can with a tapered neck and a pull tab" into working code. It does not replace taste: which proportions feel right, which colours work together and when a render still looks fake. Those decisions, and the final check, are made by a person.
What this means for your project
- Changes are cheap. If you want a taller bottle or a different cap, we edit a number and re-render.
- Variants are cheap. New flavours or colourways are texture swaps.
- You get honest disclosure. We tell you which parts were AI-assisted.
See the results in Meet the cast and 3D product renders, or read our guide on 3D renders versus photography. Want something built? Get in touch.
Want this made for you?
Creonix Studios makes 2D explainers, storyboards, 3D characters and product renders.
Start a project →